With age does come some wisdom, so I’m glad to share some of the things I’ve learned about makeup over the years with you that I wish I had learned sooner.
My makeup skills started out with me buying products from the drugstore and figuring out how to apply each one using trial and error.
With the introduction of YouTube makeup tutorials later on, I started to improve my makeup skills by following great beauty YouTubers that gave me great tips and hacks for makeup application.
I also figured out a lot of great makeup tips on my own, like how to fill my brows, apply foundation and put on a killer dark lip and I love trying new makeup tips I’ve picked up from makeup artists. While I feel like I’ve gotten pretty good at applying my makeup now, there are a lot of techniques I wish I learned earlier on to avoid some makeup mishaps.
Below are 11 makeup tips for beginners that I had to learn the hard way…so you don’t have to.
*this post contains affiliate links*
11 Must Know Makeup Tips
1. Thick, Natural-Looking Brows Are Best
One of the first makeup tips for beginners that I learned the hard way? Don’t over do it on the brows. I wore my brows much thinner in university and was lucky enough to have most of them grow back in a few years after when I came to my senses. To really make them pop, I also used to fully fill my brows with a dark eye shadow for an ultra defined look.
Luckily, I’ve opted for a much softer brow look now. I only fill in the middle to ends of my brows and make sure to leave some skin showing through on the section closest to my nose.
Most people’s brows are naturally sparser there, so totally filling in this area can look overdone and harsh. I also don’t fill them in as dark as before, creating a much softer look on my ageing face.
2. Everything Deserves A Second Chance
There are always makeup products that just don’t work out on the first try. In the past, if something didn’t work out right away, it went into the back of an old drawer never to be seen again.
But there are so many things you can do with makeup and I’ve learned that sometimes you have to think outside of the box to make things work.
For example, if I get a bronzer that’s too dark, or brown for my pale cheeks, I’ll use it as a shadow in the crease of my eye instead.
Similarly with highlighters that are too bronze or gold – throw them onto your lid for an all over shimmer! If a foundation’s too matte, I’ll mix it in with another foundation or add in some facial oil to give it some dew.
If a concealer doesn’t work under my eyes, I’ll try it out as an eyelid primer instead. Long story short, I really try to exhaust all options before deciding that a makeup product doesn’t work. That also means that if I tell you that I tossed a product, it was a real lemon!
RELATED READING: Benefit Hoola Lite: The Best Bronzer For Pale Skin?

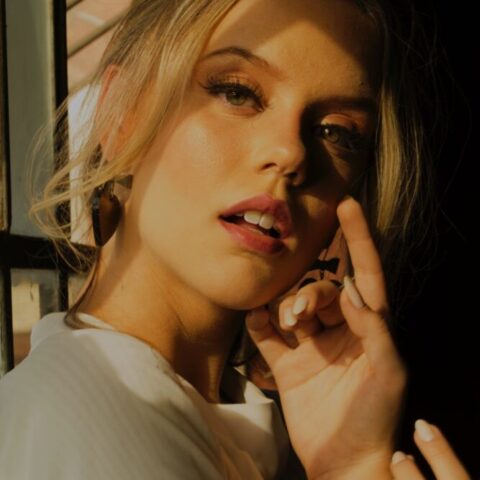
3. Experiment With Different Shades
Being very pale, I often stuck to very cool tones and never strayed too far from my comfort zone. I never really thought I could pull off an orange eye shadow or warm red lip. But in the last year or so I started trying new shades and experimenting with warmer tones in my eye shadows and I really love them.
Not every colour works on me, but sometimes you just have to try different things before assuming they’re just not for you.
12 Great Bronzers For Fair Skin
Struggling to find the right bronzer for fair skin tones? I share 12 bronzers for pale skin that will look natural, not orange!
4. Learn To Apply Blush For Your Face Shape
One of the top makeup tips for beginners has to be learning how to apply blush for your face shape, which is no easy task at first.
I have a round face (that I totally hate) and I’ve read a ton of beauty articles proclaiming that round faces should never apply blush to the apples of the cheeks.
However, I decided to finally put this theory to the test and now I’m dusting my cheeks with blush on a regular basis. It’s wrong!
I make sure to stick to the meatiest part of the cheek to pull off this blush look and try not to apply the blush too low and drag down my face. Don’t always believe what you read – try out a few different methods and see what works best on you.
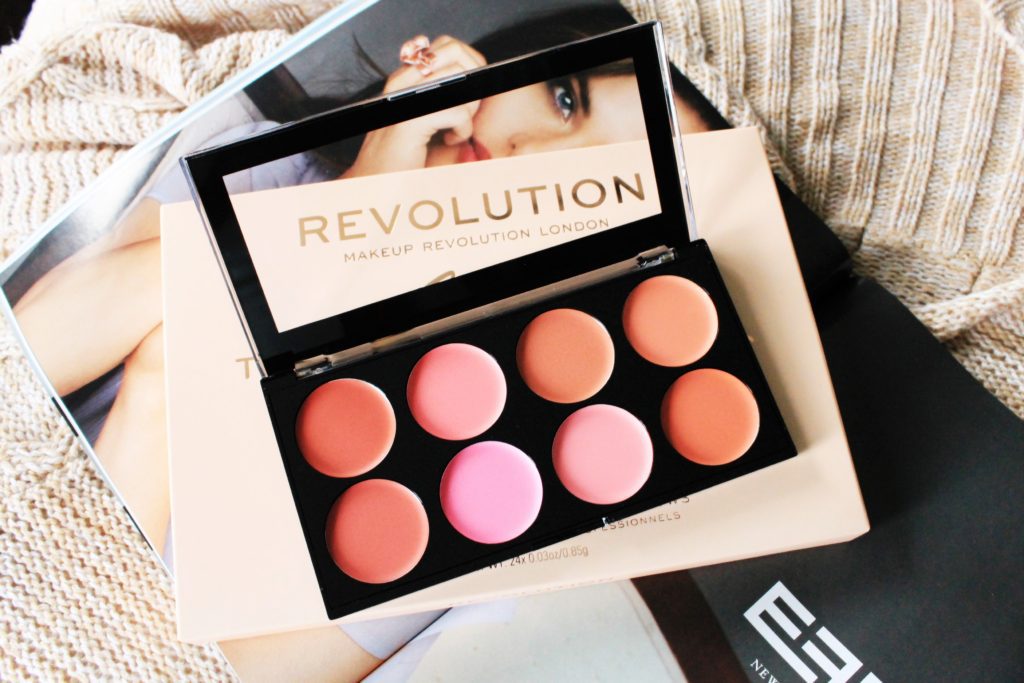
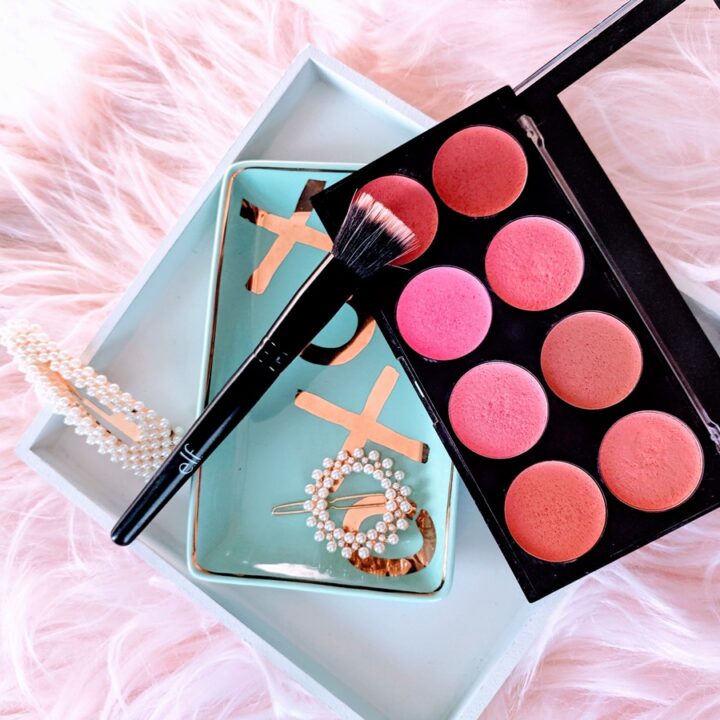
The Best Drugstore Cream & Liquid Blushes
Browse these 12 cream and liquid blushes for a radiant glow that won't break the bank and are must haves for your makeup collection.
5. Contouring Can Help (if done right!)
I only started contouring a year or two ago, but if you have a round face, let me tell you that contouring can be your best friend!
Contouring helps slim down my face and make me feel a little less like I have a huge, round pumpkin sitting on my shoulders.
I also use contouring to help hide my double chin and sometimes slim down my nose (but I save that for special occasions).
Contouring tips for makeup beginners can be a bit tough to explain, so I suggest you find a makeup tutorial video on this topic from someone who shares the same face shape as you before you start.
6. How I Apply My Primer
I have visible pores on my cheeks and I’ve never really been able to make pore-filling primers work for me. However, I recently determined that maybe I wasn’t applying my primer properly? Now I try and push the primer into my pores rather than rubbing and massaging it in like a cream.
And you know what? I find this method does work better. Such a simple idea, why didn’t I think of it before?
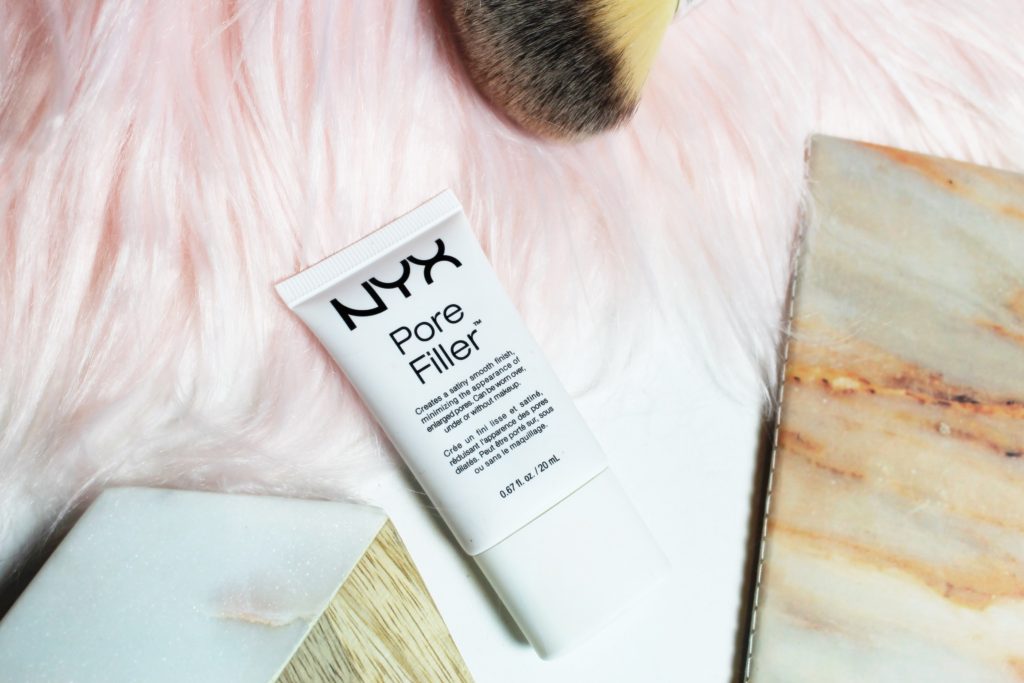

How To Apply Primer To Minimize Pores
Find out how to apply a pore filling primer for smooth skin every time.
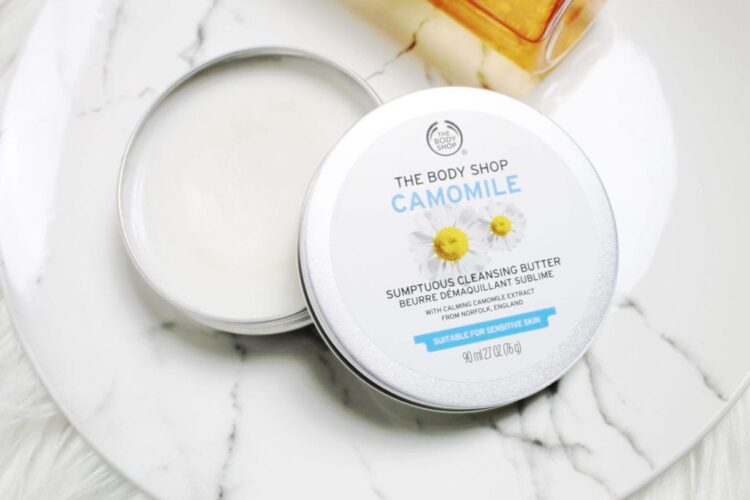
7. Double Cleansing To Remove Makeup Is A MUST!
I am embarrassed as a beauty blogger to say that I only started double cleansing a couple years ago – how did my skin survive? I now use cleansing oils or The Body Shop’s Sumptuous Camomile Cleansing Butter to remove my makeup and follow up with a gentle facial cleanser to clean up any leftover bits.
My skin and I are now back on speaking terms again. Please do not skip this beginner makeup tip ever!
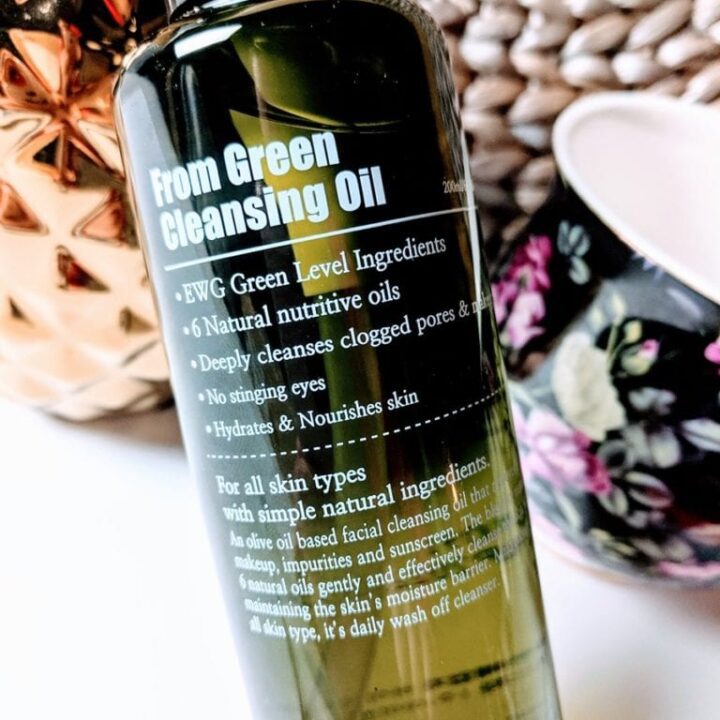
The Oil Cleansing Method For Clear Skin + 15 Cleansing Oils To Consider
If you want to effectively remove makeup/SPF, gently clean your skin and reduce acne, the Oil Cleansing Method might be something to try in your skin care routine.
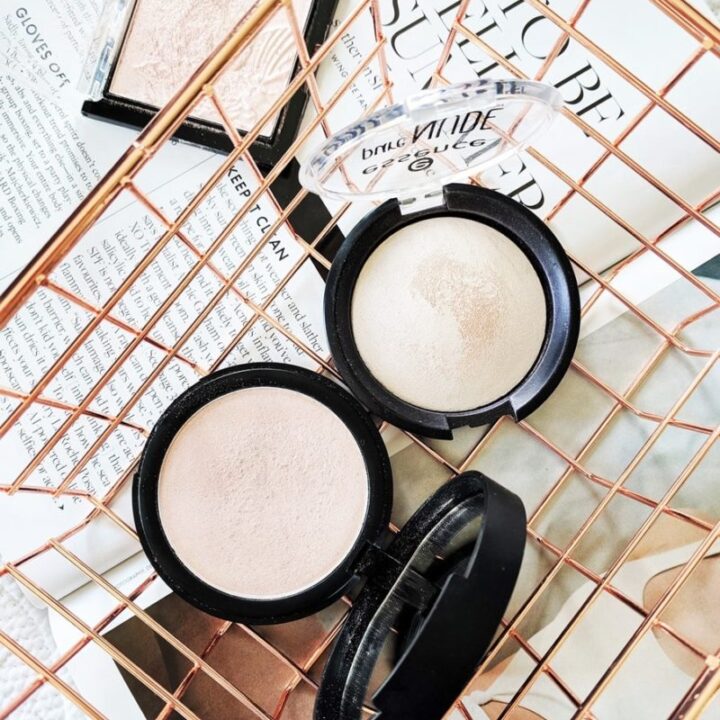
8. Highlighter Has Many Functions
I’ve used a highlighting powder along my cheekbones and on my forehead for many many years and I’m well aware that you can also apply it on the bridge of the nose, the chin and your cupid’s bow (although I skip these parts).
But I’ve more recently found out that you can use highlighter on:
- your collarbones and/or shoulders to add some glow to a summer outfit
- the centre of your bottom lip on top of a matte lip or lip gloss to make your pout look a little fuller
- on your eyelids or inner corners for some extra shimmer on the go
- mixed in with your body lotion or body oil for an all over body glow
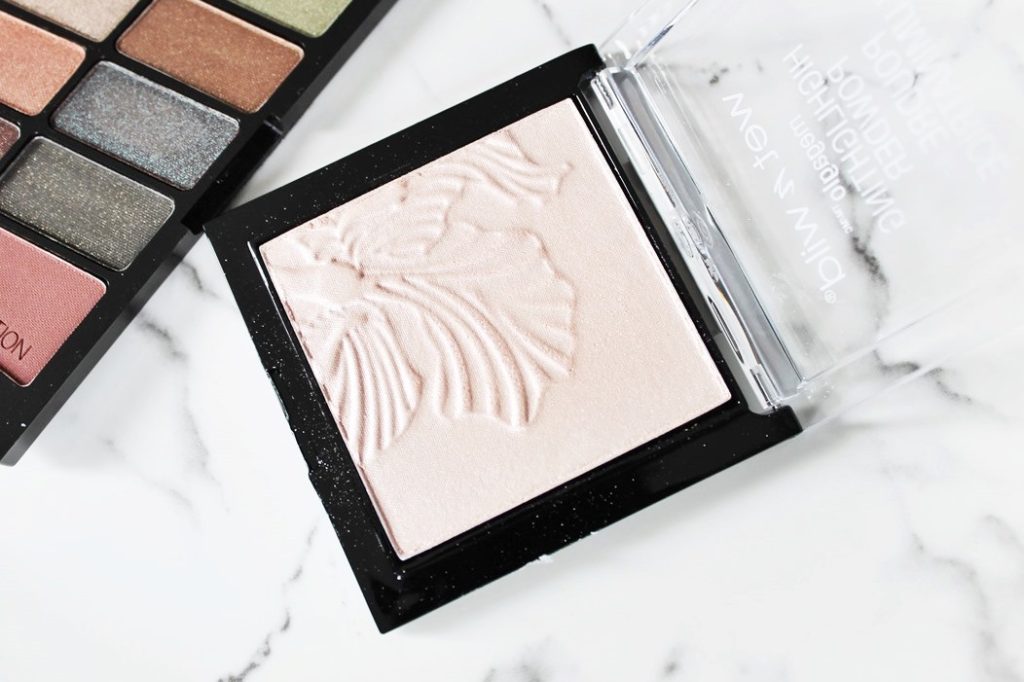
6 Ways To Apply Highlighter For Glowing Goddess Skin
Learn how and where to apply highlighter to make your skin glow head to toe!
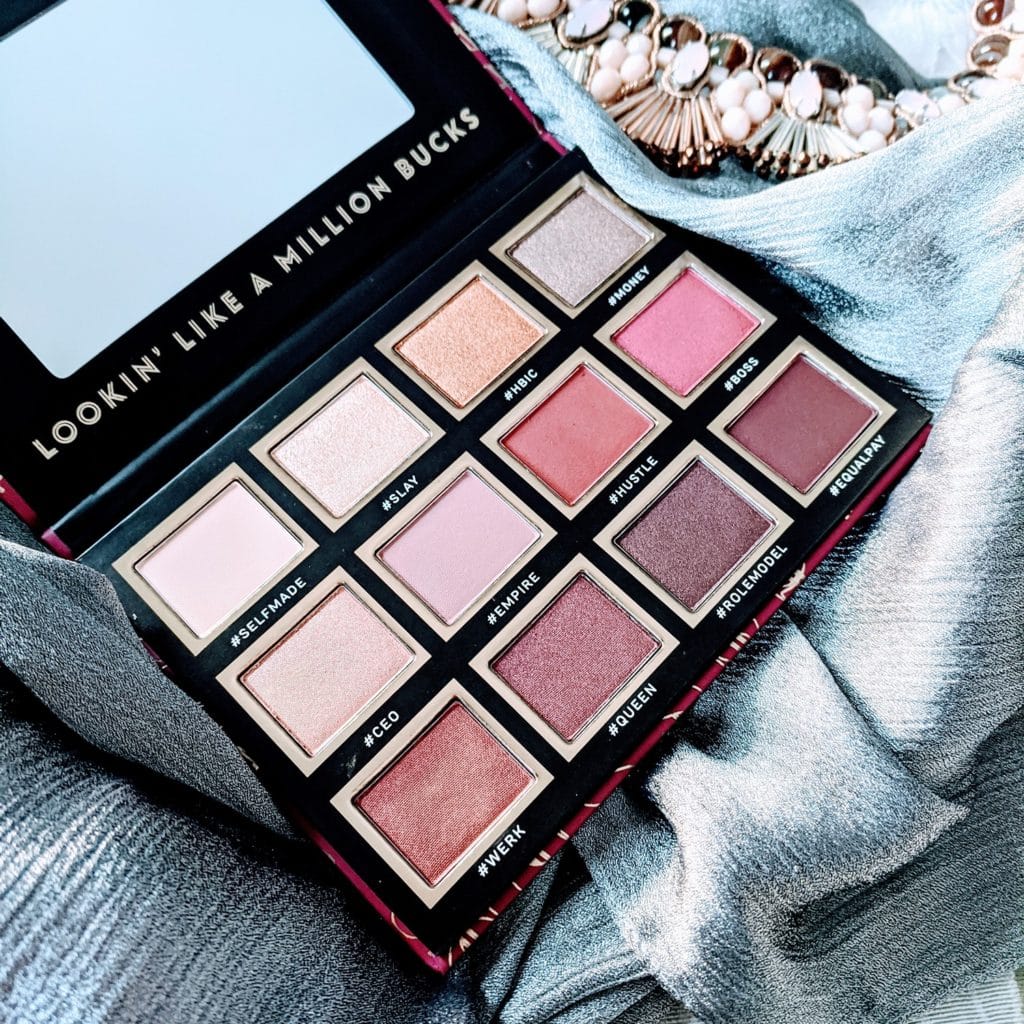
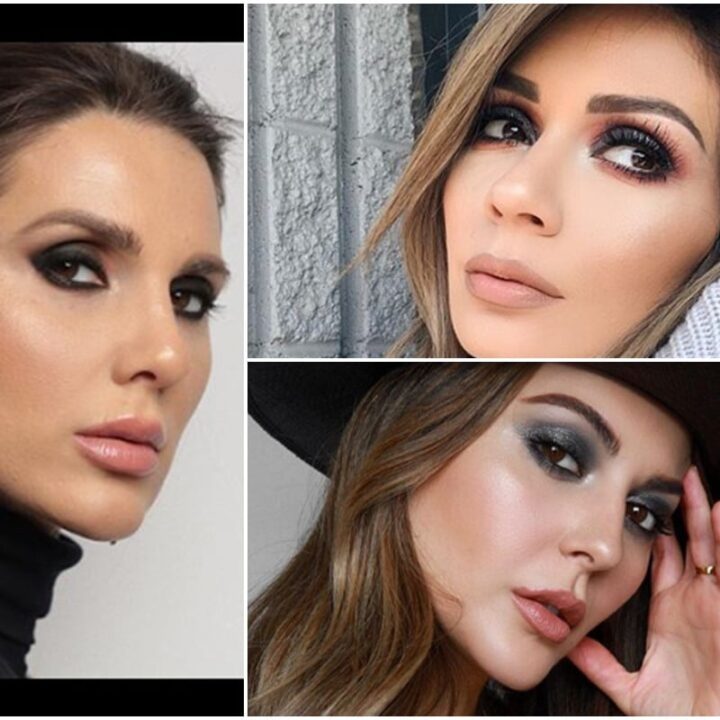
9. Eye Shadow Is All About Blending
YouTube is a wondrous place to learn about all sorts of makeup tips for beginners. I feel like YouTube has really helped me up my eye makeup game lately.
I feel a lot more confident about how to put a look together and better apply my shadows.
Starting with a light all over lid shade, one or two transition shades in the crease, a deeper shade in the outer corner and maybe a bit of shimmer on the lid.
And the secret to making all these shades work? Blending, blending, always blending. Not only are YouTube makeup videos entertaining, but they’re educational too.
3 Makeup Tutorials Worth The Watch
Watch some of my fave makeup tutorials to learn these beauty hacks from some of my favourite beauty YouTubers.
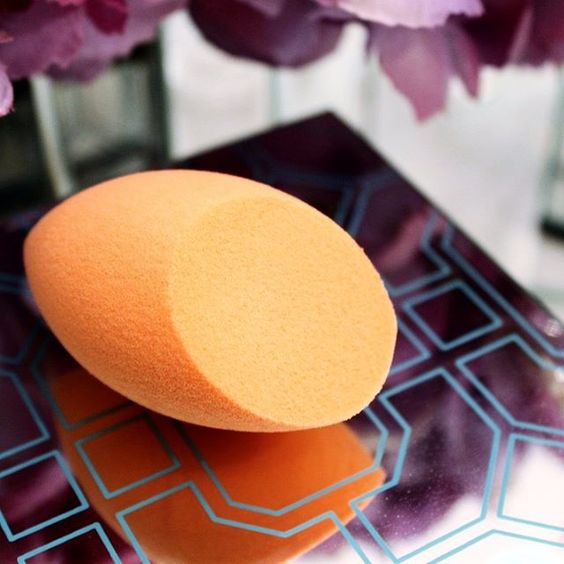
10. I Love My Makeup Sponge
When I was younger, I used a flat foundation brush to apply my foundation. Back then, pretty much any foundation I tried would work on my twenty-something skin. But nowadays, texture and fine lines have been creeping in and my foundation brush no longer cuts it.
I tried using a damp makeup sponge for foundation application a couple years ago and have never looked back! The sponge applies a lot less product which helps me avoid the dreaded cake face and really helps push the product into all my nooks and crannies.
If you still prefer using a foundation brush, I recommend dabbing a damp makeup sponge of your foundation afterwards to get rid of excess foundation or visible brush strokes. My Real Techniques Miracle Complexion sponge is my current ride or die.
11. Using A Damp Makeup Sponge To Set My Foundation With Powder
I started setting my full face with powder using a damp makeup sponge a couple years ago and it was truly a game changer! Not only does it make my foundation last longer, but it helps to fill in pores and lines for an almost airbrushed finish.

That’s my list of makeup tips for beginners that I wish I learned earlier! And don’t forget to follow my “Makeup Tips” board on Pinterest for more advice!
https://www.pinterest.ca/blushbeautyblog/makeup-tips-how-to-apply-makeup/