I love the look of false lashes, I really do, but I rarely wear them except for special occasions.
Sometimes I struggle to find the right set of lashes for my eye size and shape and other times I find false lashes to be too heavy and uncomfortable to wear.
However, I think it’s a makeup essential for everyone to know how to apply false lashes themselves whenever the mood may strike, and the right pair of lashes can take your eyes from so-so to stellar in about 3 minutes.
Still feel like false lashes are impossible to put on? Keep reading to learn my step by step tips and tricks to select and apply falsies, because it’s not as hard as you think!
*this post contains non-affiliate links – all products were gifted for my review*
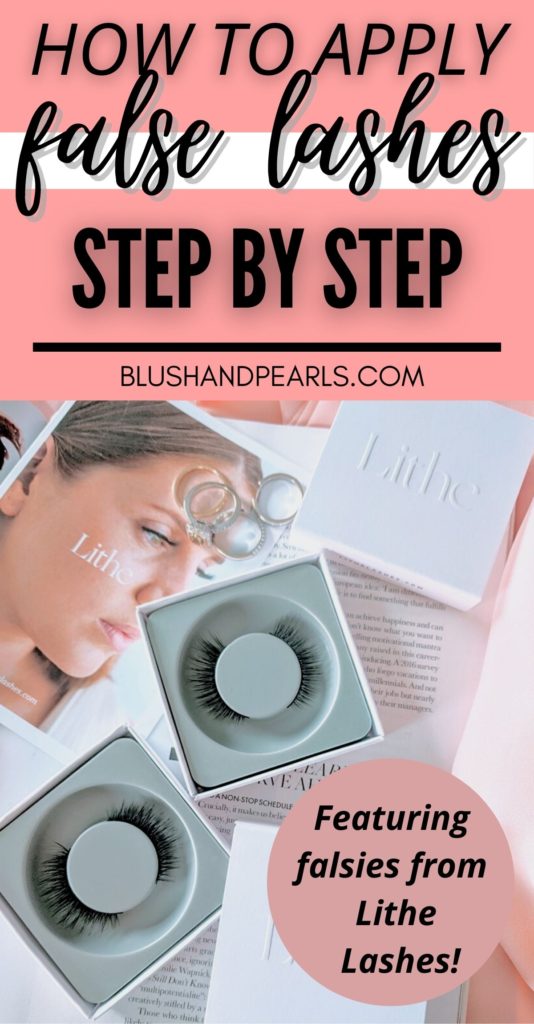
How To Apply False Lashes – Step by Step
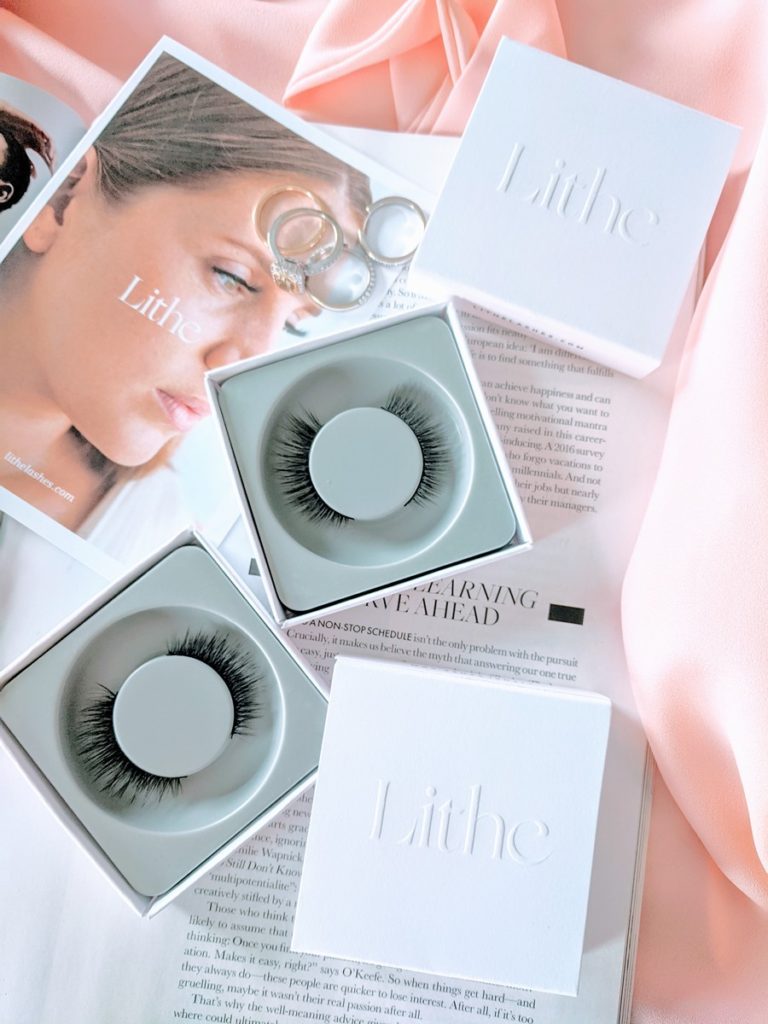
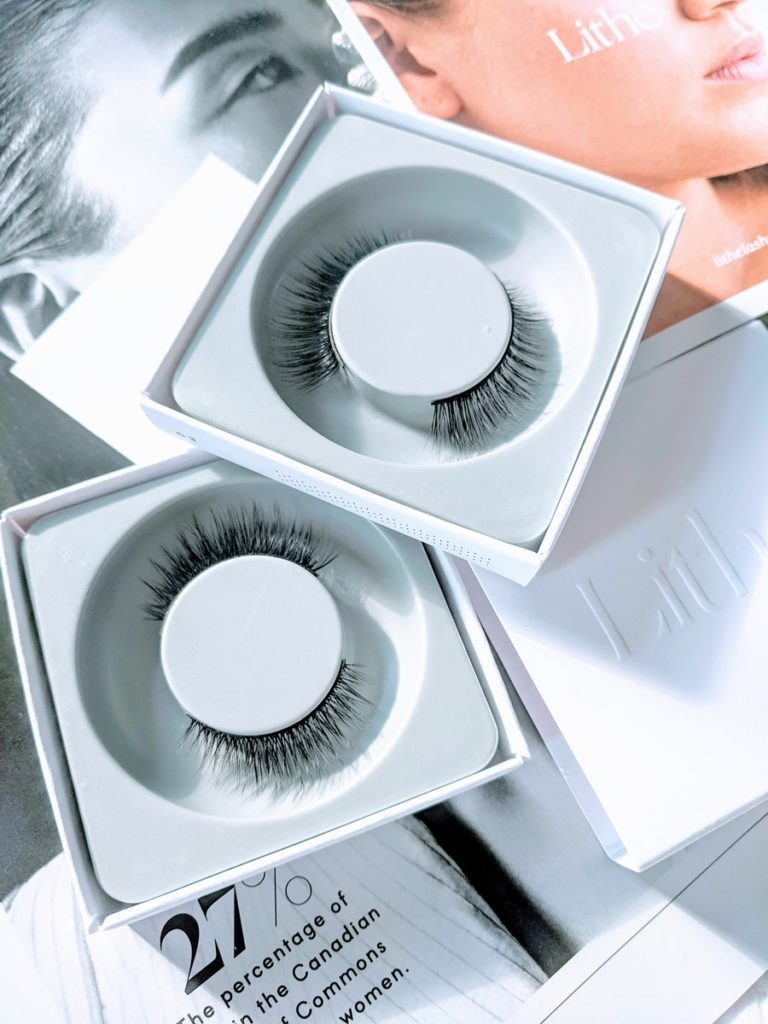
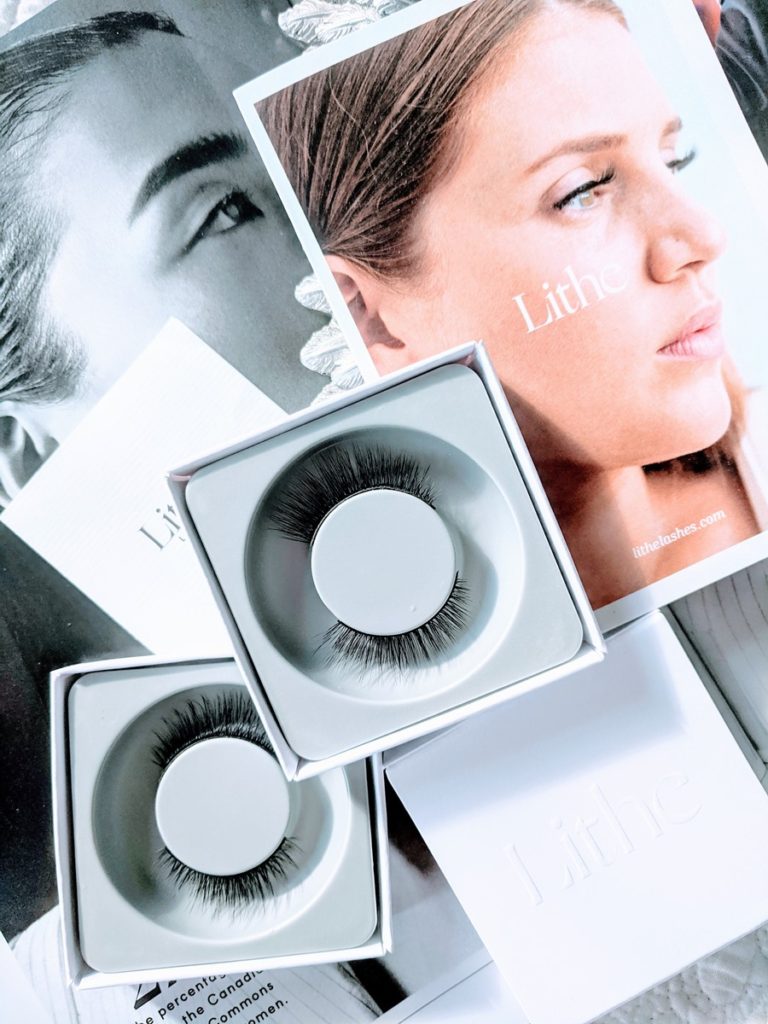
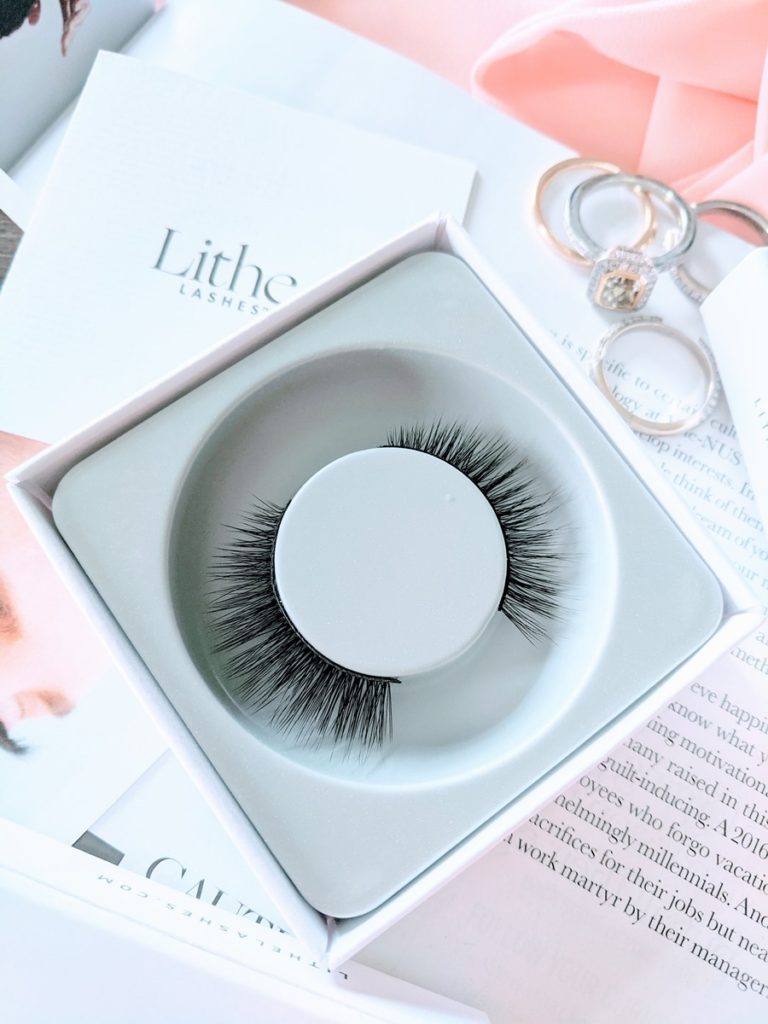
1 – Select The Right Lashes For Your Eyes
This step is probably the trickiest, because not every lash style will suit every eye shape and size.
A good place to start when picking false lashes is by asking yourself:
Do you prefer more natural looking lashes or are you going for full out glam length and volume?
Narrowing down your style preference is a great way to start your search for the right pair of lashes and false lashes usually have descriptions to help you determine how natural or glam the lashes are.
Most online lash retailers provide some guidance to help you select the right pair, but sometimes it takes time to know which lash styles work well for you and which ones don’t.
Looking at pictures of people with similar eye shapes to yours can also help and most lash brands will have pics of their lashes on various models that can help.
RELATED READING: Lancôme Monsieur Big Mascara Gives Me Fluttery-Long Lashes That Hold Their Curl
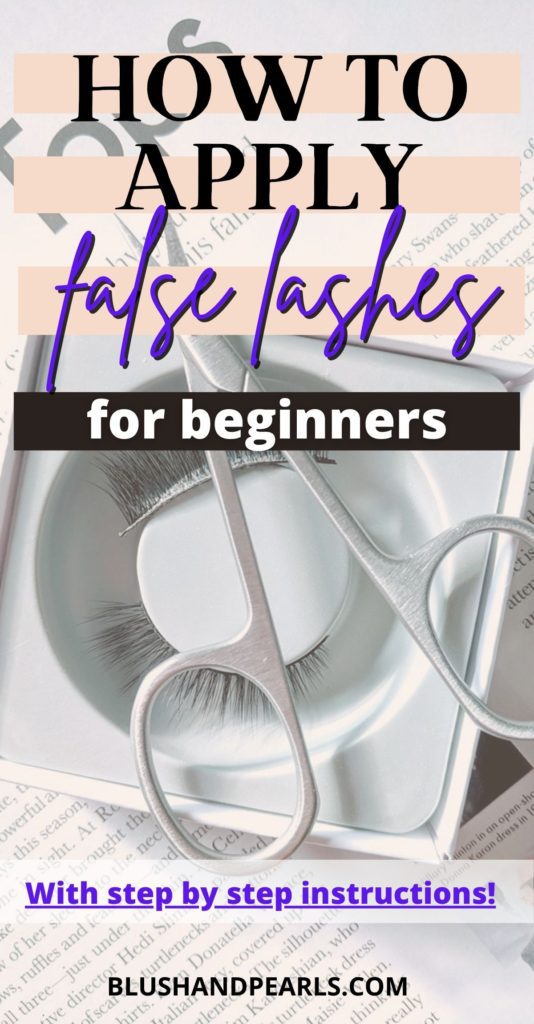
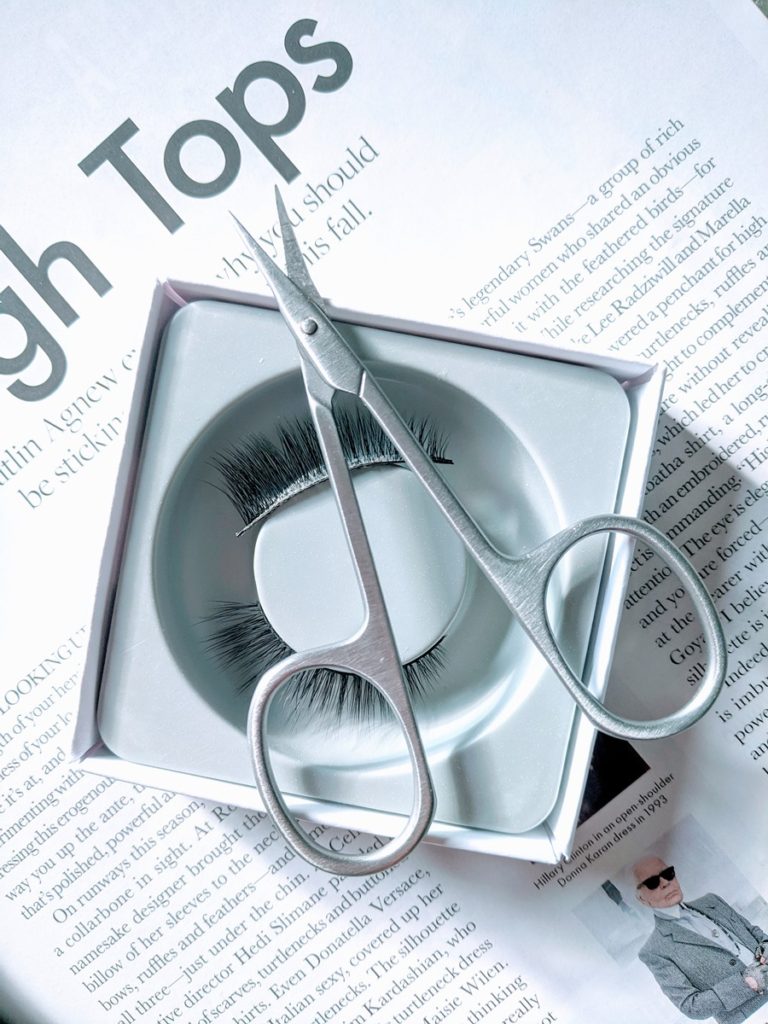
2 – Get Your Tools Ready
To prepare and apply false lashes, you will need a pair of small scissors, a mirror, lash glue and tweezers.
3 – Measure and Trim The False Lashes
Most lash bands are quite long and need to be trimmed shorter to fit the length of your lash line.
To measure, hold the lash band against your natural lash line to determine how much excess needs to be trimmed off.
Always trim from the outer edge of the lash band where it aligns to the outer edge of your lashes.
Be sure to cut the band and not the individual lash hairs.
I try to play it safe and trim off a bit less then needed so I can re-measure and re-trim to get the length just right.
Tip: If you’ve never before tried to apply false lashes, I would start with an inexpensive pair until you get more comfortable with trimming and applying your lashes.
4 – Curl and Prep Your Own Lashes
Before applying the false lashes, you should curl and apply mascara to your natural lashes.
Curling your own lashes will help them blend better into the pre-curled false lashes you are about to apply and the mascara will help accentuate and darken your natural lashes.
5 – Apply Lash Glue To The Lash Band
Apply a thin line of lash glue along the edge of the lash band – not on the lash hairs – and wait about 30 seconds for the glue to get tacky.
If you try to apply the lashes when the glue is still too wet, they will just fall off or move around and drive you nuts. Take your time and wait the 30 seconds…trust me.
Tip: To help hide the appearance of the lash band, you can line your eyes and tight-line with a black eyeliner (optional).
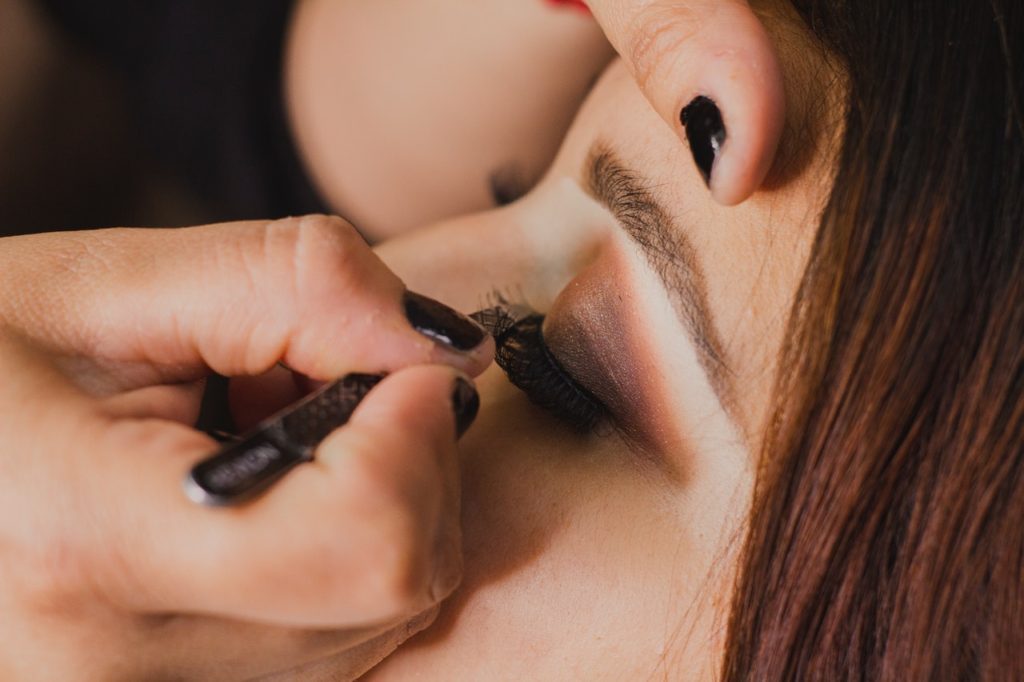
6 – Stick On The Lashes (Don’t Be Scared!)
This is the part that freaks most people out, but if you’ve properly prepped your lashes and let the glue get tacky, it’s actually quite easy.
Grab the false lashes with a pair of tweezers or lash applicator and gently place the false lashes on top of your own natural lashes near the base/roots of your lashes.
Tip: Look downwards into a mirror to make placing the lash band onto your natural lash line easier; it can be hard to see your lash line clearly when looking straight ahead into a mirror.
With the glue slightly tacky and not fully dried, you can easily place the false lashes where you need them to be without them falling off.
Once the lashes are in place, let the glue fully dry and then gently curl your natural and false lashes together with a lash curler to blend them.
You can also add some mascara to your blended lashes, but be sure to take the time to clean the false lashes properly once removed so they can be used again.
Didn’t get it right the first time? Don’t fret, it does take some practice, but you can do it!
Tip: It’s common for the ends of the lash band to not stick at first (I always have this problem!).
Apply a bit of lash glue to a toothpick or bare Q-tip bud and re-apply the glue to the ends of the band and adhere to the lash line once it gets tacky.
You can also see a short video on how to apply false lashes below:
[embedyt] https://www.youtube.com/watch?v=kkVS7ZdOi1E[/embedyt]
7 – How To Remove, Clean & Store Your Lashes
The better you take care of your lashes, the more times you’ll be able to wear them. When removing false lashes, never yank them off roughly – you risk damaging both the falsies and your natural lashes this way!
Dab one end of a cotton bud into an oil-free makeup remover and gently running the bud across your lash line where the lash band meets the skin.
Wait a few seconds and then gently pull the lash band off, starting from the outer edge to the inner corner. To clean the remaining lash glue, dip a cotton bud into an oil-free makeup remover and swipe the bud along the lash band and use the dry end of the bud to wipe any excess remover off the lash band.
Then gently place the lashes back into their lash tray for storage.
Hoping this post was helpful in applying, removing and maintaining your false lashes!